I find few things more rewarding than being able to source my own food. Chickens are easy to manage from start to finish and a great place to begin learning about meat processing.
When Pure Prairie Poultry abruptly stopped paying on their USDA loans in April of 2024, it inevitability led to the company attempting to file bankruptcy and leaving the farmers who had been caring for the chickens on the Pure Prairie Poultry dime up a creek without a paddle. Up until that point, the company had supplied all the funding for the feed, bedding, and other necessities to the farmers.
There was little that the farmers could do but give away the birds and ask for donations to help offset the costs. According to one farmer, they had to shell out roughly $20,000 a week to a feed the birds.
As a child, I learned how to butcher chickens with my family. In my second year of homesteading as an adult, I took that knowledge and butchered the surplus of roosters I achieved from my first batch of chicks in the incubator. I raised Cornish Rock Crosses the year after that, and due to 2024 being full of activities, I took the year off raising birds. So, this opportunity was a gift from the Lord.
With no birds of my own, I immediately jumped into action. I borrowed a horse trailer and made the trip to the closest chicken barn which was located in Eleva, Wisconsin. I was able to fit about 150 meat birds into that two-horse trailer. Once they were home, I got to work.
The process is simple and easy, and a great family activity in my opinion. The bulk of the materials necessary can be found around the home already and the remainder can be easily obtained at little or no cost.
Materials Break Down
- A Way to Hang the Birds– I took two T posts and drove them into the ground, then strung wire between the two posts and obtained some clothesline cord to create a noose to slip the feet in.
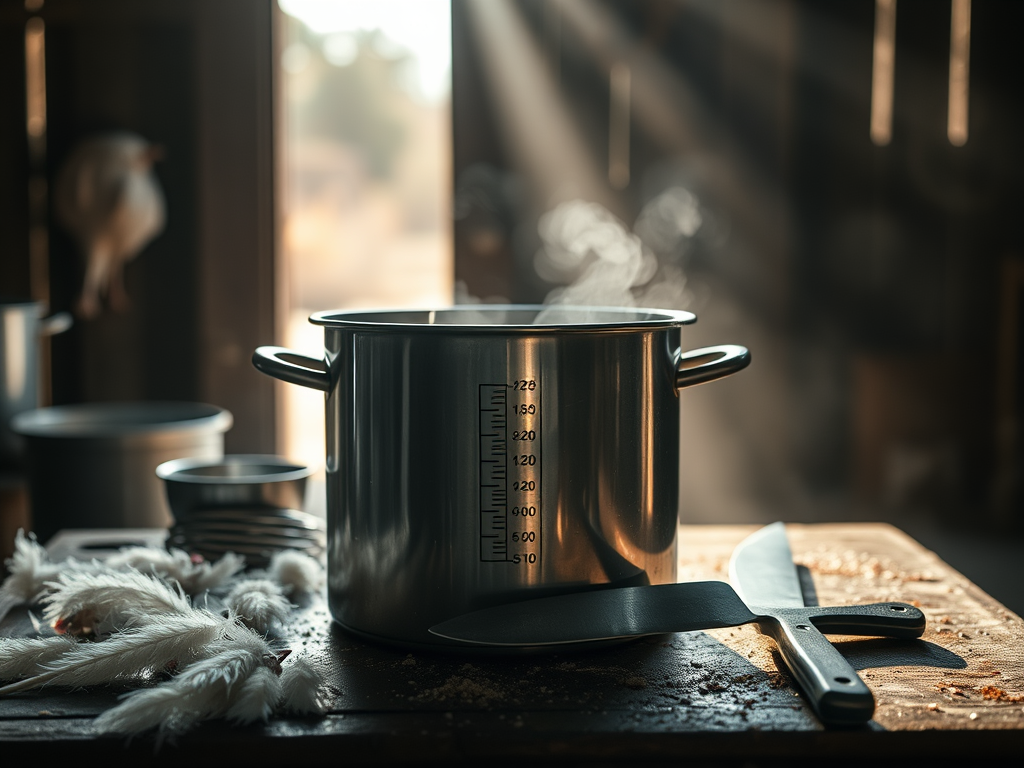
- Scalding Pot– This is a pot that is large enough to fit a whole bird. The scalding process is important as it makes it easier to remove the feathers, whether by hand or with a plucker.
- Thermometer– The water temperature is crucial. You need the water to be warm enough the make the skin loosen and release the feathers, but not so hot that it cooks the chicken. Somewhere around 135 degrees.
- Side note, my thermometer broke with my last 10 birds left to do. I would run a finger or two across the top of the water to test where we were at. I would dunk the birds for about 10 seconds at a time, remove from the water, and try pulling out a wing feather. Once those feathers come out easily, the bird is ready. I found this very informative article pertaining to scalding here.
- Heat Source– I used a propane burner, but my next trial run will be attempting a wood fire. I feel confident in doing this with my recent adventure of not having a thermometer.
- Plucker– This little gadget comes in clutch big time. Mine broke down during this last butcher and I appreciate that machine more than ever now. It makes short work of the birds.
- Side note, having your scalding water too hot will cause the skin to tear while in the plucker. Keep it at or below 145 degrees Fahrenheit.
- Torch– You will want to singe all the hairs on the birds. Believe it or not, they can be a little on the hairy side.
- Table– You will need a surface to work on.
- Needle Nose Pliers– Sometimes the pin feathers can be difficult, and this tool makes short work of them.
- Large Knife– For slitting throats and lobbing heads. I do not like to chop the heads entirely off initially. The reason being is it causes the scalding water to get extra gross quickly. I slit the throat on one side, being careful not to cut the windpipe or damage the neck. This allows the bird to bleed out considerably before dunking. Also, the birds thrash more when the heads are taken right away and this can cause damage to the meat, especially the meat.
- Fillet Knife– I use a Trailing Blade. This will come in handy to cut feet, remove the preen or oil gland, as well as cut the neck from the body and open the carcass up for the eviscerating. You may also use this knife to open the gizzards and help trim up any pieces of the heart and liver if you are saving them for later use.
- Knife Sharpener– To give you a fresh edge as butchering can dull you blades rather quick.
- Cooler(s)– You need a place to cool the birds immediately after butchering and a cooler full of ice will do the trick for about 24 hours until you can get them packaged. I also like having a small cooler on the processing table to throw the necks, gizzards, hearts, and livers in.
- Hose(s)– A food grade hose is ideal for the eviscerating table, but any old hose will do for the plucker if using one.
- Hose Nozzle– This comes in handy so the water is not running constantly.
- Miscellaneous Bins and Buckets– I like to have a bucket on the table with bleach water for disinfecting tools and surfaces. I also have a bin to throw the feet in, a bucket for heads, a bucket for any inedible pieces, and a bucket to catch the feathers from the plucker. The feather bucket has holes drilled in to allow the water to flow freely from the plucker.
- Dish Soap– I always get Dawn, but you need soap to clean all your equipment and utensils.
- Bleach– To disinfect all equipment, utensils, and surfaces.
- Scrub Brush– To apply the soap and bleach.
- Paper Towels– They come in handy.
- Ice– Needed for the cooler.
- Ziplock Bags or Vacuum Seal Bags– Gallon bags are nice for feet, necks, gizzards, hearts, and the liver while two-gallon bags can fit a whole bird in if you so desire. However, the Vacuum Sealer really extends the shelf life of the chicken by preventing freezer burn.
Different Strokes for Different Folks
Always keep in mind, this is how I do it. This list has not changed too much over the years, but I have made some slight modifications and adaptations as the time has passed. Do what is comfortable for you, what works best for you and your situation. Then please share that experience here with the Admiral Acres family!
Until next time friend.
Education is not the filling of a pot but the lighting of a fire.
W.B. Yeats





Leave a Reply